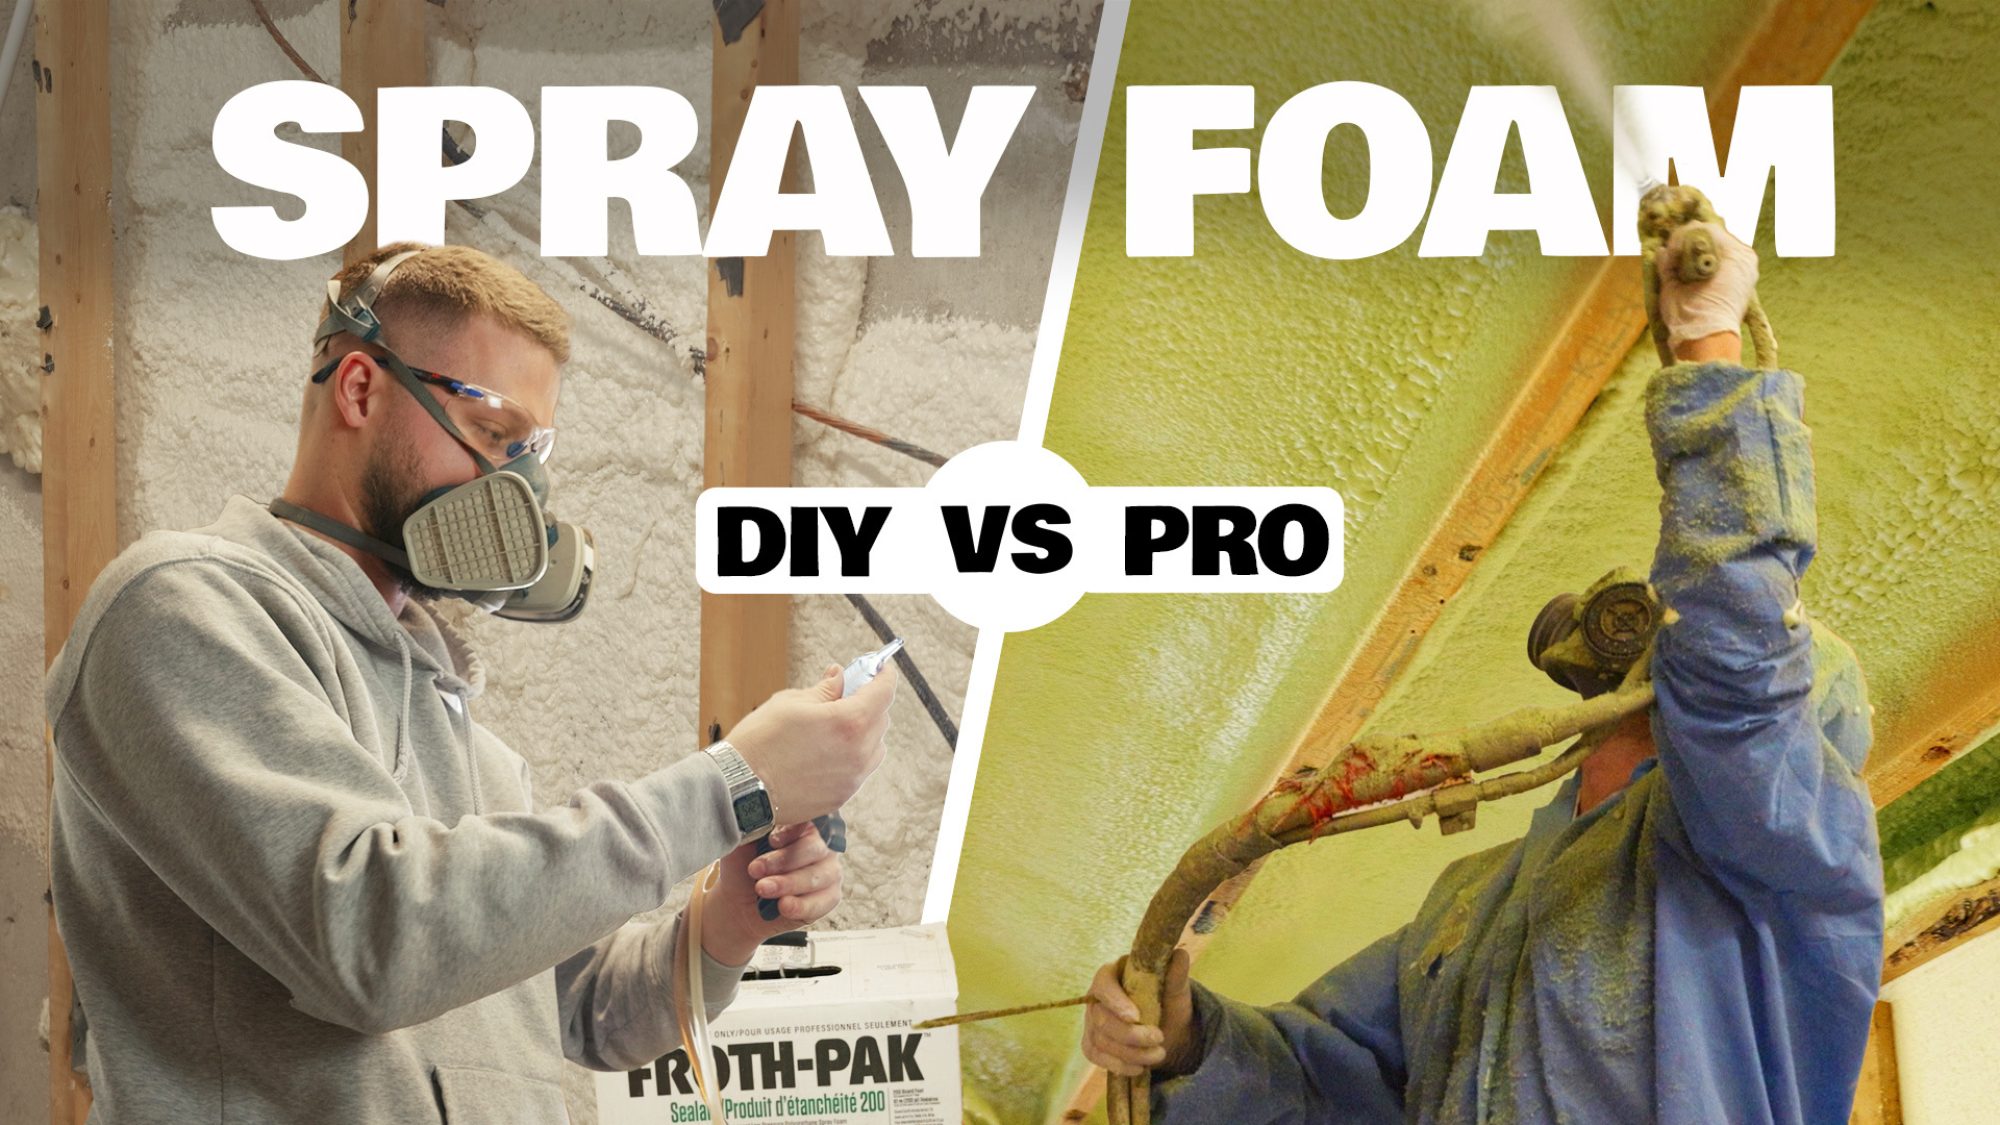
I’ve now insulated with spray foam both ways: a DIY Froth-Pak kit in my basement playroom, and a professional crew on my garage ceiling. The price gap was smaller than I expected, and the results were not even close. Here’s what each route actually involves, what it cost, and how to decide which one is right for your project.
Two projects, two approaches
My basement playroom was the DIY job. I used a Froth-Pak kit, the all-in-one canned spray foam that comes with the gun, hoses, and tanks. My dad had just used one at his place and handed me his leftovers, so I figured I’d give it a shot.
The garage was different. I’d originally planned to cover the old drywall ceiling with OSB. Then I saw the half-done insulation job above it and the broken drywall, and I remembered that both my bedroom and my kids’ bedroom are right above. Our floors were always cold. Any time I used an oil-based finish or lacquer in the garage, the smell spread through the whole house.
So the goal for the garage was simple: insulate it and seal it off from the rest of the house.
My DIY attempt: spray foam in the basement playroom
I started with demolition. I protected the floors and pulled out the old fiberglass insulation so the cavities were bare and clean.
I also found a gap around a window that had no insulation at all, and I could see straight outside. For that, I used a low-expansion foam made for windows and doors. I pried the frame up slightly with a screwdriver and sprayed just enough to seal it. High-expansion foam can bow a window frame, so that’s the type to look for.
Attempt one: I ran out after 12 square feet
My first try was with the used tanks from my dad. I followed the instructions to purge the hoses and test-spray into a garbage bag, and everything looked fine. But the foam didn’t expand the way I expected, and the tanks ran out after only about 12 square feet.
My best guess is temperature. The manufacturer recommends keeping the tanks at 25°C, and my house was set to 20°C. I hadn’t preheated anything.
Attempt two: doing it properly
For round two, I measured the walls, did the math, and bought a new Froth-Pak 200 for $500 CAD. This time I:
- Preheated the tanks overnight in a closed room at 25°C, about 2 feet from the heater
- Shook them for a full 5 minutes, as the instructions say
- Checked the temperature sticker on the tank, which changes color to show whether it’s at the right temperature
What I learned while spraying
- The nozzle clogs fast. If you stop spraying for more than about 20 seconds, the tip clogs and you have to swap it. The kit includes narrow and wide tips, so keep them handy. Seating the tip on the gun is easier if you use both index fingers until you hear a solid click.
- Start with the wide fan tip. I began with the narrow tip and put way too much foam in some spots. Around the window I had about 3 inches, and above it about 4.
- Pressure drops as the tanks empty. A full tank sprays hard and fast, then weakens. Spray the deep, hard-to-reach cavities first, while the pressure is strong. In my case, the rim joist sits two feet back under a house overhang.
- Overspray early means running short later. I wanted about 2 inches everywhere, but in some areas I only got 1 inch.
My honest verdict: it works, but expect amateur results the first time. Getting an even layer and knowing how much material you need takes practice. I tell my kids all the time that practice makes perfect, and spray foam is no exception.
Hiring the pros: spray foam insulation in the garage
After doing the math, hiring out made more sense for the garage. Between the size of the job and the quote I received, the cost was close to what the DIY kits would have run me, and the pros would do it faster and cleaner. I was even considering leaving the finished ceiling exposed instead of covering it with OSB.
The crew arrived in a mobile spray foam truck with a generator, a large compressor, and a pump built in. There were two of them: one sprayer and one helper.
How the pros did it
- Masking first. The helper covered the floors and walls with thin plastic film, and it was done very quickly.
- Rim joists first, then the ceiling. They sprayed about 4 inches on the rim joists and overhangs, and 2 inches across the rest of the ceiling.
- Constant depth checks. The sprayer measured the foam thickness with a gauge as he went.
- Never more than 2 inches at a time. He let each layer expand before spraying again, alternating between the rim joist and the underside of the overhang until both reached 4 inches.
- Tight spots filled completely. Where he couldn’t get a good angle, he filled the cavity solid.
- Gun maintenance as they worked. He kept the gun clear of debris with quick cleanups throughout the job.
Watching him work was almost hypnotic. The finish was perfectly even, which is something I couldn’t come close to with my first attempt.
While they were there, I had them spray a few extra areas I’d opened up: the rim joists in the basement bathroom and laundry area, and a crawl space wall. They also spotted places I’d missed in my DIY playroom and filled those in.
The results
The overhang above the garage sits directly beneath our bedroom floor. It used to be freezing in winter, and now I can walk across it barefoot.
The garage is also sealed. It’s tight enough that when I close the door, the pressure change makes a whooshing sound, almost like a vacuum seal. Any future finishing fumes or VOCs from the garage shouldn’t reach my kids’ bedroom.
One practical note: we slept at the grandparents’ house the night after the spray because of the fumes. Ask your installer how long you should stay out, and follow the product’s re-entry guidelines.
Spray foam cost: DIY vs professional
Here’s how the numbers compared. These are Canadian prices from my own quotes, and yours will vary by region and company.
With DIY kits you pay for the entire kit even if you only need part of it, which is why the smallest kit has the highest cost per board foot.
My garage ceiling is about 300 square feet. At 2 inches thick, that’s 600 board feet. The Froth-Pak 620 technically covers that, but I’m certain I’d have run out before finishing the rim joists and overhang, especially with my track record.
The professional quote for the ceiling alone was about $1,200, the same price as the 620 kit. The final $1,400 also covered the basement rim joists, the crawl space wall, and fixing my DIY mistakes. Going with the pros was a clear win.
When to DIY and when to hire a pro
DIY spray foam makes sense for:
- Rim joists
- Small gaps and touch-ups
- Projects small enough to finish with a single kit
Hire a professional if:
- The area is larger than a small room
- You need consistent thickness across a large surface
- The price of the kits adds up to roughly what a quote would be
- You want a clean, finished look
The one exception is distance. If you live somewhere no professional company will drive to, a larger DIY kit may be your only option.
So, was it worth it?
For the garage, absolutely. Some people suggest a plastic vapor barrier instead, and that’s a reasonable option, but it doesn’t do the same job. For me, the extra cost was worth it because my family’s bedrooms are warmer, the garage is sealed off from the house, and I’m done with a problem that bothered me for years.
My takeaway: use DIY spray foam for small jobs, and get a quote before buying a big kit. The price might surprise you.
Would you DIY or hire the pros? Let me know in the YouTube comments.


